Procedure
Step 1: Setting Up the HTML Structure
Start by creating the basic HTML structure. The <head> section includes the page title, styles, and font imports, while the <body> section holds the main button structure.
Step 2: Importing Google Fonts
Use the <style> tag to import fonts like Poppins for a clean and modern look. This will enhance the text's appearance on your button and page.
Step 3: Styling the Background
Set a plain or subtle background color to ensure the button's hover effect stands out. A white or light-colored background works well for contrast.
Step 4: Creating the Button
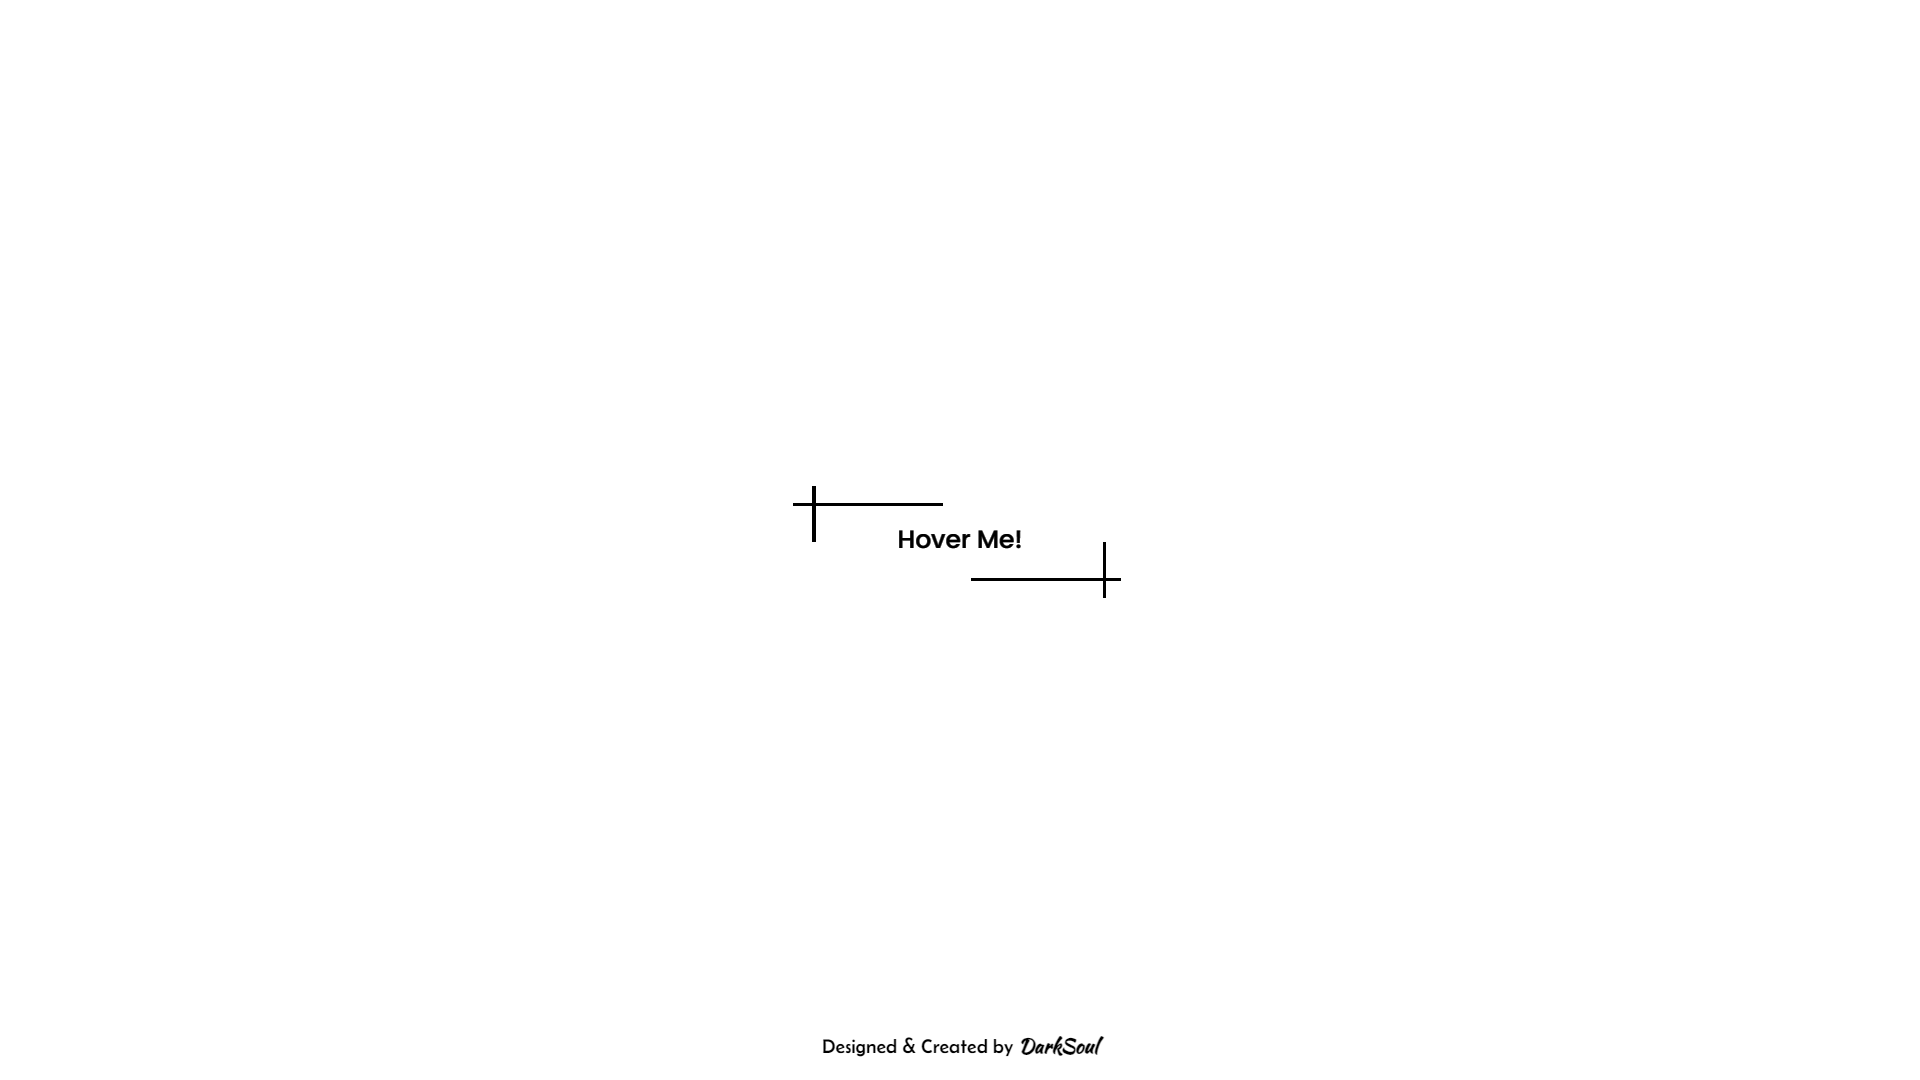
Add a <button> element with the class darksoul-btn. Inside the button, include child <div> elements for the top, bottom, left, and right borders to manage hover effects individually.
Step 5: Styling the Button
Use CSS to style the button. Make it transparent with a mix-blend mode for the background and text. Ensure the borders are styled to start small and expand on hover.
Step 6: Adding Hover Effects
In the CSS, use the :hover pseudo-class to increase the size of each border's rectangle on hover. Add smooth transitions for a sleek effect.
Following these steps will help you create a stylish and interactive button hover effect. Experiment with different border styles and colors to make it uniquely yours!
